Oak floor sanding is an art that demands precision, patience, and a profound understanding of the material at hand. For British homeowners and propert
Oak floor sanding is an art that demands precision, patience, and a profound understanding of the material at hand. For British homeowners and property owners worldwide, the charm and warmth of oak flooring are unparalleled. However, over time, these floors can lose their lustre and vitality due to wear, damage, or outdated finishes.
The process of revitalising these floors through sanding is not merely a task; it’s a journey towards restoring the innate beauty of your home. In this comprehensive guide, we delve into the meticulous process of oak floor sanding, offering easy-to-follow tips and revealing the secrets to unlocking the shine of your oak floors.
Assessment and Preparation
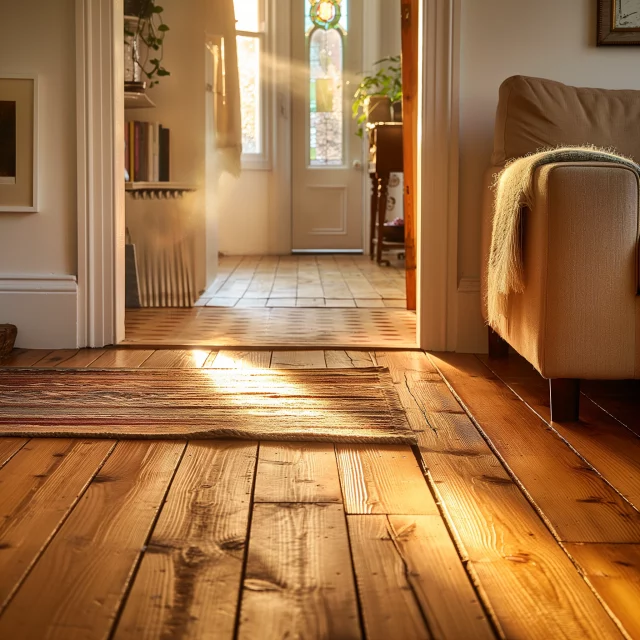
The initial phase of any oak floor sanding project involves a thorough assessment and preparation. This stage is crucial, laying the foundation for the entire refinishing process.
Determine Wood Type and Assess Floor Condition
Identifying the type of oak and the current state of your floors is paramount. The age of the floor, any existing finishes, and signs of damage will influence your approach to sanding and refinishing.
Consider Floor Sanding Complexity
Factors such as the floor’s size, the complexity of its layout, existing finish, distortion, and previous damage play a significant role in planning the project. These elements determine the level of effort and the type of equipment required.
Identify Obstacles
Common challenges include overwood (uneven boards), adhesive residue, paint, water damage, and pet stains. Older floors often reveal signs of warping, such as cupping and crowning, which need to be addressed carefully to avoid further damage.
Safety and Environmental Considerations
Homes built before 1978 may contain lead-based finishes, necessitating special safety measures during sanding. It’s also essential to consider the environmental impact of your project, choosing sustainable practices and materials whenever possible.
Preparation Steps
Clearing the room, repairing any significant damage, and thoroughly cleaning the floor are preliminary steps that cannot be overlooked. Removing the old finish—and a minimal amount of wood—is necessary to create a smooth, clean canvas for refinishing.
Equipment, Technique, and Material Selection
The choice of equipment, technique, and materials can significantly affect the outcome of your oak floor sanding project.
Proper Tool Use
Matching the machinery to the task at hand is vital to avoid causing additional damage to your floors. Whether it’s a drum sander for the main areas or an edge sander for the corners, knowing how to use these tools correctly is key.
Sanding Grits
Starting with coarse grits to remove the top layer of wood and existing finish and gradually moving to finer grits ensures that the floor is smoothly prepared for the new finish. This progression is essential for achieving a uniform grain exposure and removing any imperfections.
Choosing Finishing Materials
The final look and durability of your floors depend heavily on the selected finish. Oil-based, water-based, and natural finishes each offer distinct advantages and aesthetics. Consider factors such as drying time, odour, and compatibility with your floor’s condition when making your choice.
Sanding, Buffing, and Finishing
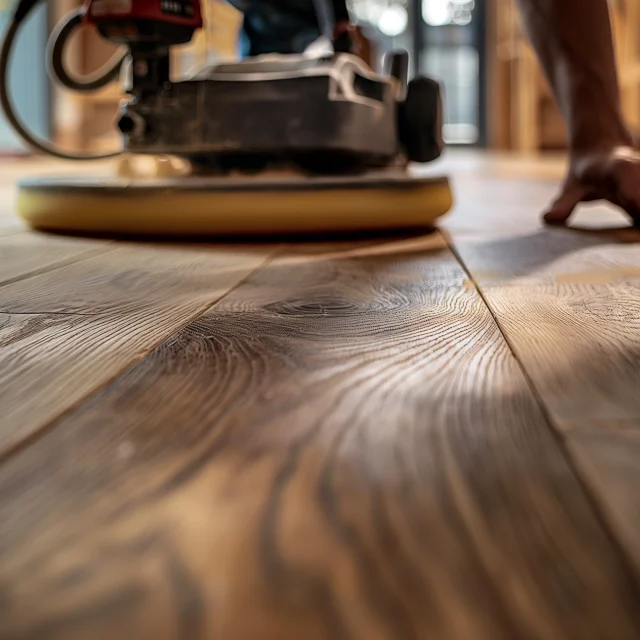
The actual sanding process involves a methodical application of techniques to ensure a flawless finish.
Progressive Sanding
Beginning with coarse abrasives and advancing to finer ones is a principle that cannot be stressed enough. This technique not only ensures an even grain but also focuses on dust management to maintain a clean working environment.
Buffing
After sanding, buffing is essential to eliminate any fine scratches and prepare the wood surface for the finishing coat. This step is crucial for achieving a smooth, even surface that will enhance the natural beauty of your oak floors.
Applying the Finish
Once the floor is prepared, apply the selected finish evenly and methodically. Ensuring proper ventilation during this step is crucial for safety and achieving an optimal cure. Subsequent protective coats may be necessary to enhance the durability and appearance of your floors.
Maintenance and Post-Refinishing Care
After the dust has settled and the final coat of finish has cured, the task of maintaining the floor’s lustre begins. This phase is crucial for prolonging the life and appearance of your oak flooring.
Regular Cleaning
Establish a routine that involves gentle cleaning to remove dirt and grit, which can wear down the finish over time. Avoid harsh chemicals and excessive water, which can damage the wood and finish. Microfiber mops and specific wood floor cleaners are recommended for this purpose.
Protect Against Scratches and Wear
Use felt pads under furniture legs to prevent scratches. Rugs and mats placed in high-traffic areas can also reduce wear. However, ensure these are breathable to prevent moisture trapping.
Screening and Recoating
As a preventative measure, consider screening (lightly sanding) and recoating the floor every few years. This less intensive procedure can refresh the finish and address minor wear without the need for a full sanding and refinishing project.
Patience and Care
After refinishing, allow the floor sufficient time to cure before moving furniture back in and resuming normal use. Rushing this process can compromise the finish and the overall quality of the job.
“Maintaining your oak floor after refinishing is paramount for preserving its beauty and longevity. Regularly clean with a microfiber mop and specific wood cleaner, protect it from scratches with felt pads under furniture, and consider a light sanding and recoat every few years. This routine ensures your floor remains vibrant and durable. Remember, your floor’s elegance reflects the care you put into it, so treat it with the respect it deserves.” – Jim Goodall, GJP Floor Sanding.
Additional Considerations

While the main process of sanding and refinishing is linear, several additional considerations can affect the outcome of your project.
Surface Transformation
The goal of sanding and refinishing is not merely to restore the floor but to transform it. This transformation involves careful abrasion, meticulous preparation, and the application of finishes that not only protect but also enhance the natural beauty of the oak.
Troubleshooting Common Issues
Stains, burns, and deep scratches may require special attention before the general sanding process begins. Solutions can range from spot treatments with bleach or specialised products to the replacement of individual boards in severe cases.
Screening vs. Sanding
Not every floor in need of a facelift requires full sanding. Assessing the condition of your floor can help you decide whether a lighter screening process might be sufficient. This decision is crucial for preserving the integrity and thickness of your oak flooring.
Wrapping Up
The comprehensive approach outlined in this guide serves as a roadmap for homeowners, property owners, and landlords looking to restore the beauty of their oak floors. From the initial assessment and preparation to the final touches of maintenance and care, each step is vital to achieving a result that not only shines but also stands the test of time.
In undertaking this journey, we engage not only in the physical transformation of our living spaces but also in the preservation of craftsmanship and the appreciation of natural beauty.
Sanding and refinishing oak floors is a testament to the value of patience, attention to detail, and the pursuit of excellence. As we navigate through these steps, we are reminded of the importance of treating our homes with care and respect, ensuring that they remain places of warmth, comfort, and timeless elegance for many years to come.





COMMENTS